Arch Linux Installation
Arch gang rise up

1 Why?
As you can notice, there are various tutorials in the net for the keyword “Arch installation”. As an Arch user, I will recommmend you to take a look at the Arch wiki for such an installation progess instead. So what is the purpose of this post? You may ask.
First of all, this post serves as a snippset for my arch installation. I don’t want to forget anything esstensial for my daily workflow incase I have to make a complete reinstall. Secondly, as personalized as this installation guide may seems, it may help new users in some ways.
Now let’s get started:
/dev/nvme0n1 should be replaced with /dev/sda depending on different hardware.2 Setting up
2.1 Setting up network
ip link
wifi-menu
2.2 Disks partition
lsbk
cgdisk /dev/nvme0n1| Partitions | Space | Type | Lable |
|---|---|---|---|
| /dev/nvme0n1p1 | 512M | ef00 | boot |
| /dev/nvme0n1p2 | 4G | 8200 | swap |
| /dev/nvme0n1p3 | remaining | 8300 | system |
2.3 Format partitions
1. EFI partition
mkfs.fat -F32 /dev/nvme0n1p12. Activate swap
mkswap /dev/nvme0n1p2
swapon /dev/nvme0n1p2
3. System partition
mkfs.ext4 /dev/nvme0n1p32.4 Mount and setting up
$ mount /dev/nvme0n1p3 /mnt
$ mkdir /mnt/boot
$ mount /dev/nvme0n1p1 /mnt/boot
$ df
3 Installation
3.1 Select mirror
$ nano /etc/pacman.d/mirrorlistPlace your host of choice on top:
Server = http://abcdxyz.example.com/archlinux/$repo/os/$arch3.2 Install base system
$ pacstrap /mnt base linux linux-firmware neovim
$ genfstab -U /mnt
$ genfstab -U /mnt >> /mnt/etc/fstab
$ cd /mnt/etc
$ cat fstab
3.3 Chroot into system: setting up timezone, passwd,…
$ arch-chroot /mnt
$ ln -sf /usr/share/zoneinfo/ /  /etc/localtime
$ hwclock --systohc --utc
$ nvim  /etc/locale.gen` then uncomment `en_US.UFT-8`
$ locale-gen
$ echo "LANG=en_US.UFT-8" > /etc/locale.conf
$ nvim /etc/hostname
$ passwd
$ useradd -g users -G wheel,storage,power -m ashpex
or
localectl set-locale LANG=en_US.UTF-83.4 Setting up Bootloader
$ pacman -S grub efibootmgr
$ grub-install --target=x86_64-efi --efi-directory=/boot --bootloader-id=GRUB
$ pacman -S os-prober
$ grub-mkconfig -o /boot/grub/grub.cfg
3.5 Setting up wifi
$ pacman -S networkmanager wireless_tools wpa_supplicant network-manager-applet
$ exit
$ reboot
3.6 Install yay
$ git clone https://aur.archlinux.org/yay.git
$ cd yay
$ makepkg -si
3.7 Enable ntp
$ pacman -S ntp
$ systemctl enable ntpd
$ systemctl start ntpd
$ timedatectl set-ntp 1
3.8 Install DEs or WM.
3.8.1 Gnome
$ sudo pacman -Syu
$ sudo pacman -S xorg xorg-server
$ sudo pacman -S gnome
$ sudo systemctl start gdm.service
$ sudo systemctl enable gdm.service
$ sudo pacman -S pulseaudio pulseaudio-alsa
3.8.2 i3
$ sudo pacman -S i3-gaps dunst dmenu picom feh mpd mpv ranger rofi scrot neovim xorg xorg-server pulseaudio pulseaudio-alsa alsa-utils nemo alacritty firefox git zathura$ yay polybar ranger-gitlight package to control brightness. It works better than xbacklight and supports Wayland.3.8.3 XFCE
sudo pacman -S xfce4 xfce4-goodies4 Conclusion
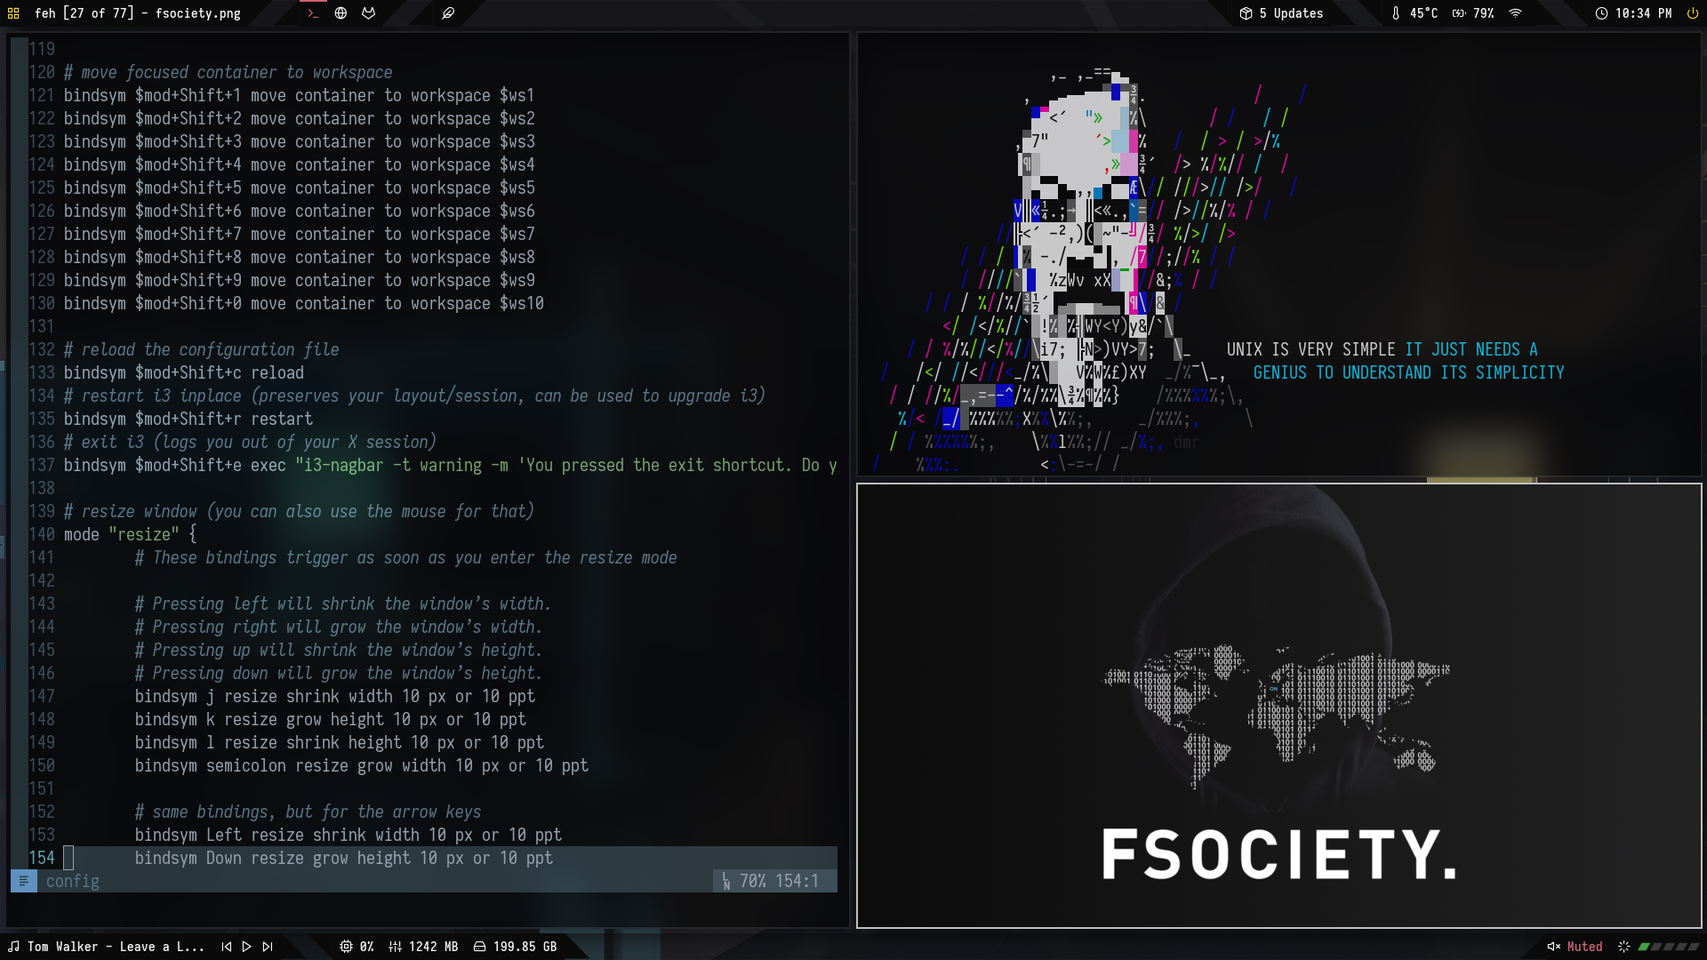
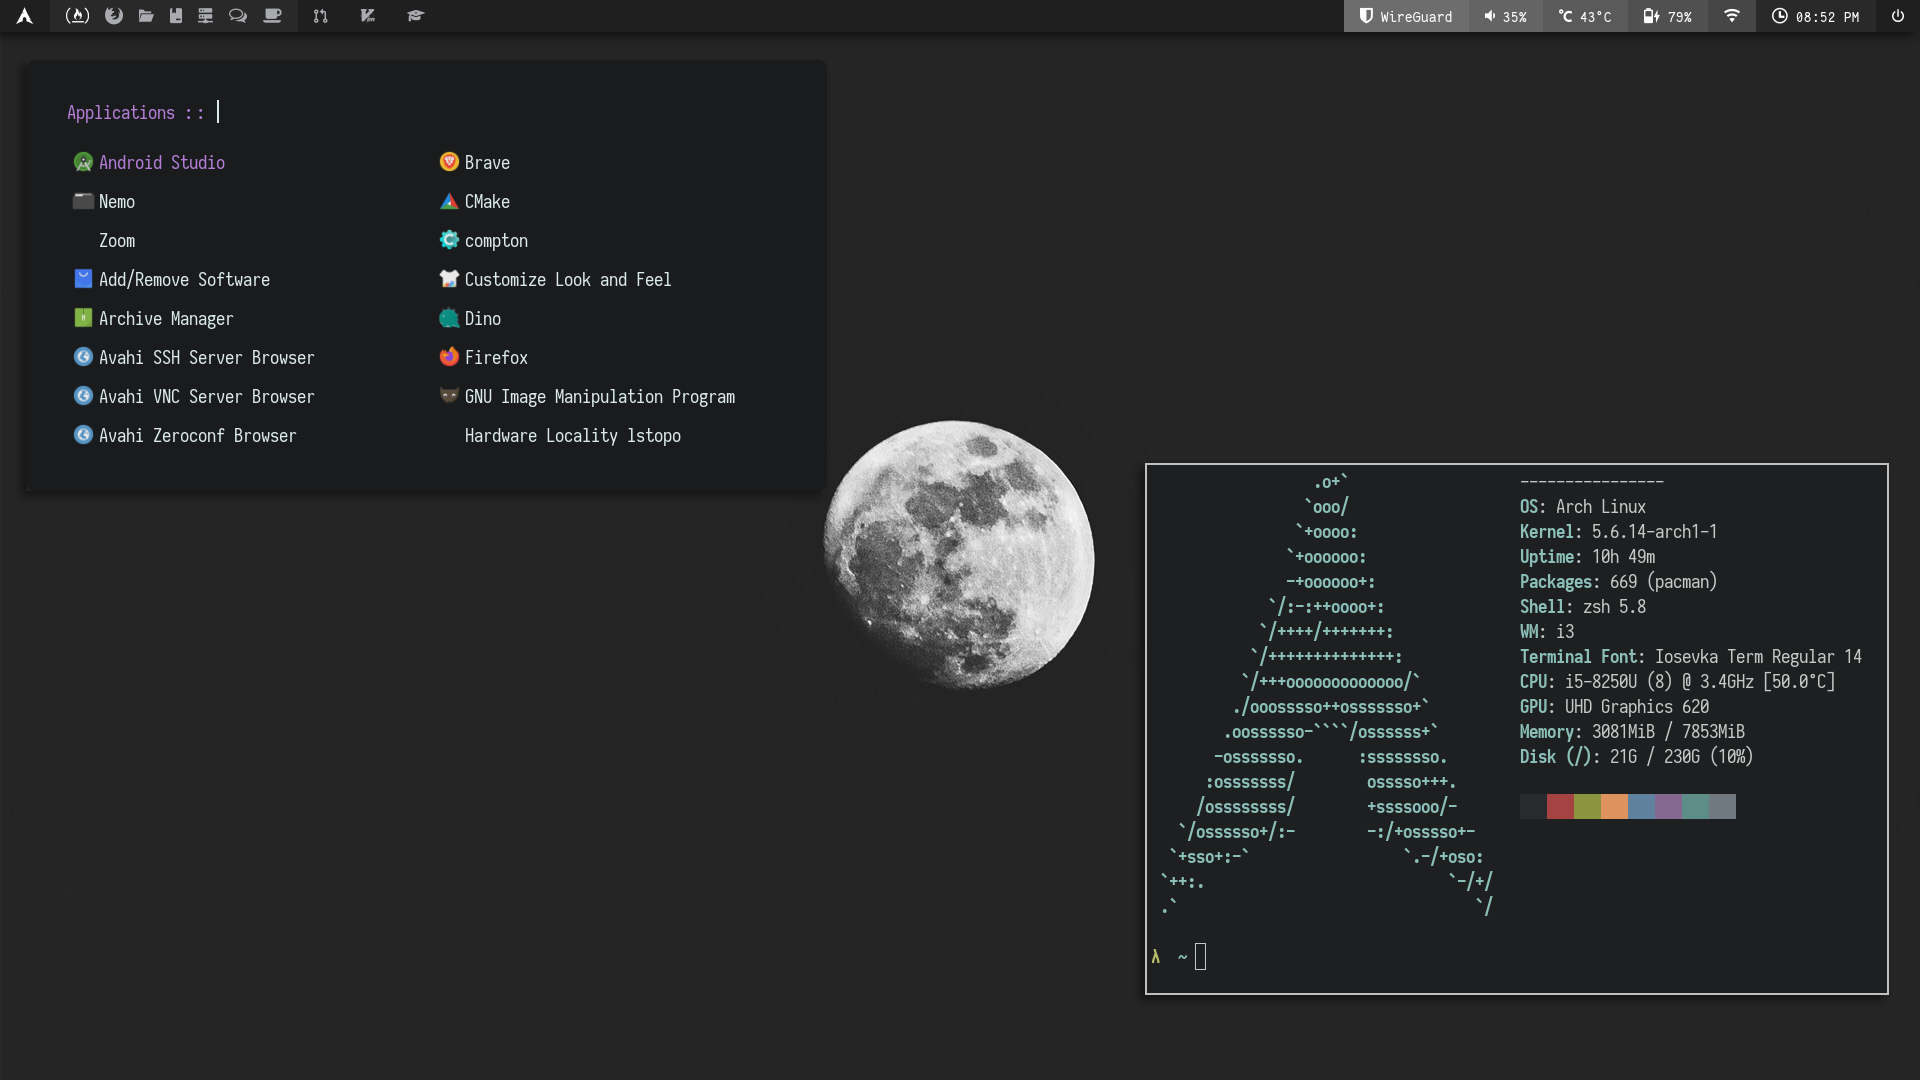
That’s pretty much the whole installation of your Arch Linux system. You can customize your OS more later such as things like ricing,… The fun has just begun. Here are some screenshots of my machine over time.


5 Troubleshooting
5.1 Wifi icon 1
5.1.1 Initial Requirements
-
Hosts
Check the configuration of your /etc/hosts file, a valid configuration looks like this:
#<ip-address> <hostname.domain.org> <hostname> 127.0.0.1 localhost.localdomain yourHostname ::1 localhost.localdomain yourHostname -
Devices
-
You can identify your networking devices like this:
lspci | grep -i net -
If your device is not listed, it is maybe an usb-device, so try this command:
lsusb -
With the following command you can check the current state of all your network-devices:
ip link
5.1.2 Installation of Required tools
-
Install the wpa_supplicant tools
sudo pacman -S wpa_supplicant -
the wireless tools
sudo pacman -S wireless_tools -
Install the networkmanager
sudo pacman -S networkmanager -
Install the network-manager-applet aka nm-applet
sudo pacman -S network-manager-applet -
Install gnome-keyring
sudo pacman -S gnome-keyring -
Configuration
-
Make the networkmanager start on boot:
sudo systemctl enable NetworkManager.service
- Disable dhcpcd
-
Since networkmanager wants to be the one who handles the dhcpcd related stuff, you have to disable and stop dhcpcd:
$ sudo systemctl disable dhcpcd.service
$ sudo systemctl disable dhcpcd@.service
$ sudo systemctl stop dhcpcd.service
$ sudo systemctl stop dhcpcd@.service
-
Enable wpa_supplicant, if you want to use your wireless connection:
sudo systemctl enable wpa_supplicant.service -
Add your user to the network group:
gpasswd -a <USERNAME> network -
Turn off your network interface controllers, in my case eth0 and wlan0:
$ ip link set down eth0
$ ip link set down wlan0
-
Now start wpa_supplicant:
$ ip link set down eth0 $ ip link set down wlan0 -
Now Start the networkmanager:
sudo systemctl start NetworkManager.service
Finally, you should see the tray-icon on the top bar.
5.2 Sudoers 2
Logging as root
visudoAdd another line after this one
root ALL=(ALL) ALLWith: (by pressing O, then :X to save)
username ALL=(ALL) ALL Support Me on Ko-Fi.com